
Every Holiday with Evelyn Guide
Prep & Priming
Because the fun part is painting—not watching your beautiful paint job peel off in one giant sheet three days later. 😂
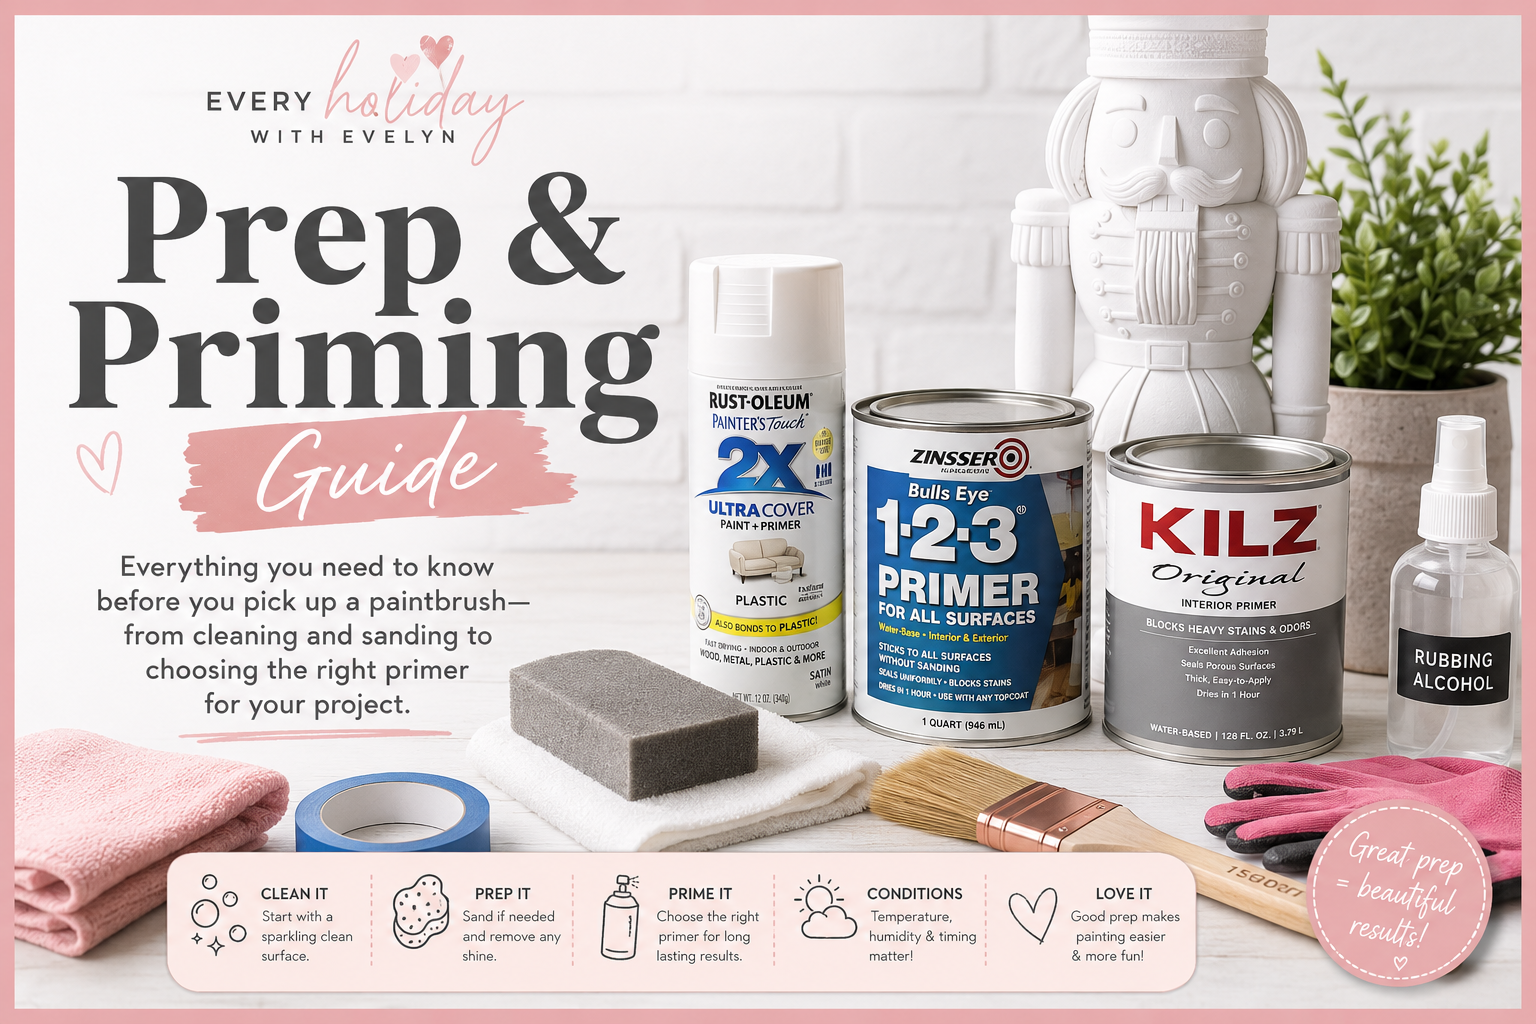
First Things First
A great paint job starts before you ever open the paint.
Cleaning, sanding and priming are not nearly as exciting as choosing colors, painting adorable cheeks or adding enough glitter to permanently alter your home's ecosystem.
But proper prep helps paint grip the surface, apply more evenly and hold up better through handling, decorating, storage and outdoor display.
You do not need to turn this into a seven-day surface-preparation ceremony. You simply need to clean the piece well, decide whether the surface needs light sanding and choose products compatible with the material you are painting.
Clear away anything that could keep paint from sticking.
Give primer and paint a suitable surface to hold onto.
Help your final colors cover more evenly and consistently.
Clean It—even If It Is Brand New
New plastic can still carry dust, fingerprints, oils or manufacturing residue. Previously displayed pieces may have pollen, cleaner residue or approximately eleven months of mysterious garage dust.
My Basic Cleaning Process
Remove Loose Dirt
Wipe or brush away loose dust and dirt before introducing water.
Wash the Piece
Use warm water, a small amount of grease-cutting dish soap and a soft cloth or non-scratch sponge.
Clean the Details
Use a soft toothbrush to reach grooves, seams and molded areas.
Rinse Thoroughly
Remove all soap residue before moving on.
Let It Dry Completely
Water hides inside seams and recessed details. Primer and trapped moisture are not friends.
Do I Have to Sand It?
Not every project needs sanding. The goal is to dull an extremely slick surface—not remove half the nutcracker.
Unpainted Blow Mold
Usually OptionalClean it well. Lightly scuff only when the plastic is extremely slick or the product directions recommend it.
Step2-Style Plastic
Sometimes HelpfulLightly dull glossy areas without removing the molded texture or leaving deep scratches.
Resin Décor
Often OptionalSand rough seams, damaged areas or glossy finishes only where needed.
Previously Painted Décor
Often RecommendedRemove loose paint, smooth rough edges and dull glossy coatings before repainting.
Metal
Usually YesRemove loose finish and rust, then use a primer specifically labeled for the type of metal and project conditions.
Wood
Usually YesSand smooth, remove the dust and use a primer appropriate for wood.
Do I Really Need Primer?
Sometimes yes. Sometimes your paint is designed to bond directly to the surface. And sometimes skipping primer works until painter's tape removes the design like a very upsetting sticker. 😂
Prime It If...
- The surface is slick or glossy.
- You are painting bare plastic or metal.
- You are covering a dark color with a light one.
- The existing finish is uneven.
- The piece will receive frequent handling.
- The product manufacturer recommends primer.
- You want the strongest practical base for outdoor display.
You May Be Able to Skip It If...
- Your paint is made to bond directly to that surface.
- You are completing a small touch-up.
- The existing finish is clean, sound and properly prepared.
- The piece stays indoors with little handling.
- You tested the combination and adhesion is strong.
Choose the Primer for the Surface
Primer types are not automatically interchangeable. The material, condition and future home of the finished piece all matter.
Plastic-Bonding Spray Primer
For slick molded plastic, look for a primer that specifically lists plastic adhesion. Spray application can create a thin, even base and reach molded details efficiently.
- Designed to improve adhesion on difficult surfaces
- Useful for large molded decorations
- Fast, even application when used properly
- Available in different primer colors
#WalmartPartner · Affiliate link
Brush-On Bonding Primer
A brush-on bonding primer can be useful on wood, resin, previously painted pieces or projects where spraying is not practical.
- More control around small areas
- No drifting overspray
- Useful for spot priming and repairs
- Available in multi-surface formulas
Apply thin coats with a smooth synthetic brush or small foam roller. Heavy primer can settle into grooves and soften the details that made you buy the piece in the first place.
Stain-Blocking Primer
A stain-blocking primer is useful for wood knots, tannin bleed, strong stains or an old color that keeps trying to rejoin the project.
- Helps block stains and discoloration
- Useful when changing from dark to light
- Creates a more consistent base
- Especially useful on certain woods
Metal Primer
Metal needs a product intended for metal. Remove loose finish and rust, then follow the directions for the exact primer chosen.
- Designed to bond to metal surfaces
- May help reduce future rust
- Available for different metal conditions
- Useful for outdoor metal decorations
White, Gray or Dark Primer?
Primer color can affect how easily the final color covers. Choosing a sensible base may save several coats and a small portion of your sanity.
White Primer
Helpful beneath:
- White and cream
- Pastels
- Bright red
- Pink and yellow
- Candy colors
Gray Primer
Helpful beneath:
- Burgundy
- Forest green
- Navy
- Medium and dark colors
- Many metallics
Dark Primer
Sometimes helpful beneath:
- Black
- Dark Halloween colors
- Antique metallics
- Distressed finishes
- Deep shadows
How to Apply Primer
Thin coats will save you from so many problems. Primer is not cake frosting.
Check the Label and Conditions
Confirm the recommended temperature, humidity, ventilation and application conditions.
Prepare the Workspace
Protect nearby surfaces, elevate the piece if needed and make sure you can reach all sides without touching wet primer.
Apply a Light First Coat
Use smooth spray passes at the distance listed on the can, or a thin and even coat for brush-on primer.
Check the Details
Look for drips, puddles and buildup inside grooves, around faces and beneath decorative trim.
Follow the Recoat Time
Do not assume dry to the touch means ready for another layer.
Add Another Light Coat Only If Needed
Build an even, bonded base without burying every molded detail.
Allow It to Cure
Proper curing helps reduce lifting, scratching and tape-related emotional damage. 😂
Primer Is Deeply Opinionated About the Weather
Temperature, humidity and wind can all change how primer sprays, levels, dries and bonds.
Temperature
Extreme heat or cold can cause poor adhesion, rough texture or unusually slow drying.
Humidity
High humidity may slow drying and contribute to softness, cloudiness or uneven results.
Wind
Wind affects coverage and distributes primer onto objects that were not invited to participate.
Common Prep & Priming Mistakes
Most primer disasters begin with rushing, overapplying or asking a product to bond to a surface it was never meant to meet.
Skipping the Wash
Primer cannot bond properly through dirt, grease or manufacturing residue.
Priming a Damp Project
Moisture trapped in seams may cause bubbling, softness or adhesion problems.
Sanding Too Aggressively
Deep scratches and flattened details may remain visible through every layer.
Applying One Heavy Coat
Thick primer is more likely to drip, crack, remain soft or bury details.
Priming in Bad Conditions
Heat, cold, humidity, direct sunlight and wind can all change the finish.
Painting Too Soon
A coating can feel dry before it is ready for paint, tape or handling.
Combining Incompatible Products
Primer, paint and sealer do not always behave nicely together. Test first.
Continuing Over a Failing Base
More paint will not fix peeling, gummy or poorly bonded primer.
Evelyn's Tip
Give each layer more time whenever you can.
Waiting is annoying. Repainting an entire project because the primer was still soft is significantly more annoying.
Follow the product label first, and when your schedule allows it, give the piece extra curing time before painting, taping or adding another finish.
Prep & Priming FAQs
The questions everyone asks approximately five minutes before they want to start painting. 😂
Do I have to prime a blow mold before painting it?
Not every paint system requires primer, but a compatible plastic-bonding primer may improve adhesion and create a more consistent base. Check your paint instructions and test a hidden area.
Do I have to sand plastic?
Not always. Very slick or glossy plastic may benefit from gentle scuffing with a fine sanding sponge. Avoid aggressive sanding that damages molded details.
Can I use paint-and-primer instead?
Possibly, but “paint and primer” does not guarantee strong adhesion to every surface. Slick plastic, metal and difficult finishes may still require a dedicated bonding primer.
How many coats of primer do I need?
Follow the product instructions. Most projects need only enough thin, even coats to create a properly bonded and consistent base.
How long should primer dry before I paint?
Follow the recoat time listed on the product. Temperature and humidity can slow drying, and dry to the touch is not the same as fully cured.
Should I use white or gray primer?
White is helpful beneath light, bright and pastel colors. Gray is useful beneath many medium and dark shades and can make coverage easier to judge.
Can I prime over old paint?
Yes, when the existing paint is clean, firmly attached and compatible with the new products. Remove peeling paint and dull glossy areas first.
Can I use regular wall primer on plastic?
General wall primer may not bond properly to slick molded plastic. Choose a product that lists your surface or complete an adhesion test.
Can I use gesso as primer?
Gesso is useful on many art surfaces, but it is not automatically a replacement for bonding primer on slick plastic, metal or outdoor décor.
Why is my primer still sticky?
Thick coats, humidity, cold temperatures, insufficient curing time or incompatible products may cause tackiness. Do not add paint or sealer while the primer remains sticky.
Can I prime indoors?
Only when the product label permits indoor use and all ventilation and safety requirements can be followed. Many spray products are intended for outdoor or specially ventilated application.
Should I wash a brand-new decoration?
Yes. New items can still carry dust, fingerprints, oils or manufacturing residue that interfere with adhesion.
Ready to Paint?
Come join our nutcracker, blow mold and holiday décor communities for painting inspiration, project help and several thousand people who will fully support your decision to bring home one more giant plastic friend.
Some links on this page are affiliate links, which means I may earn a commission from qualifying purchases at no additional cost to you.