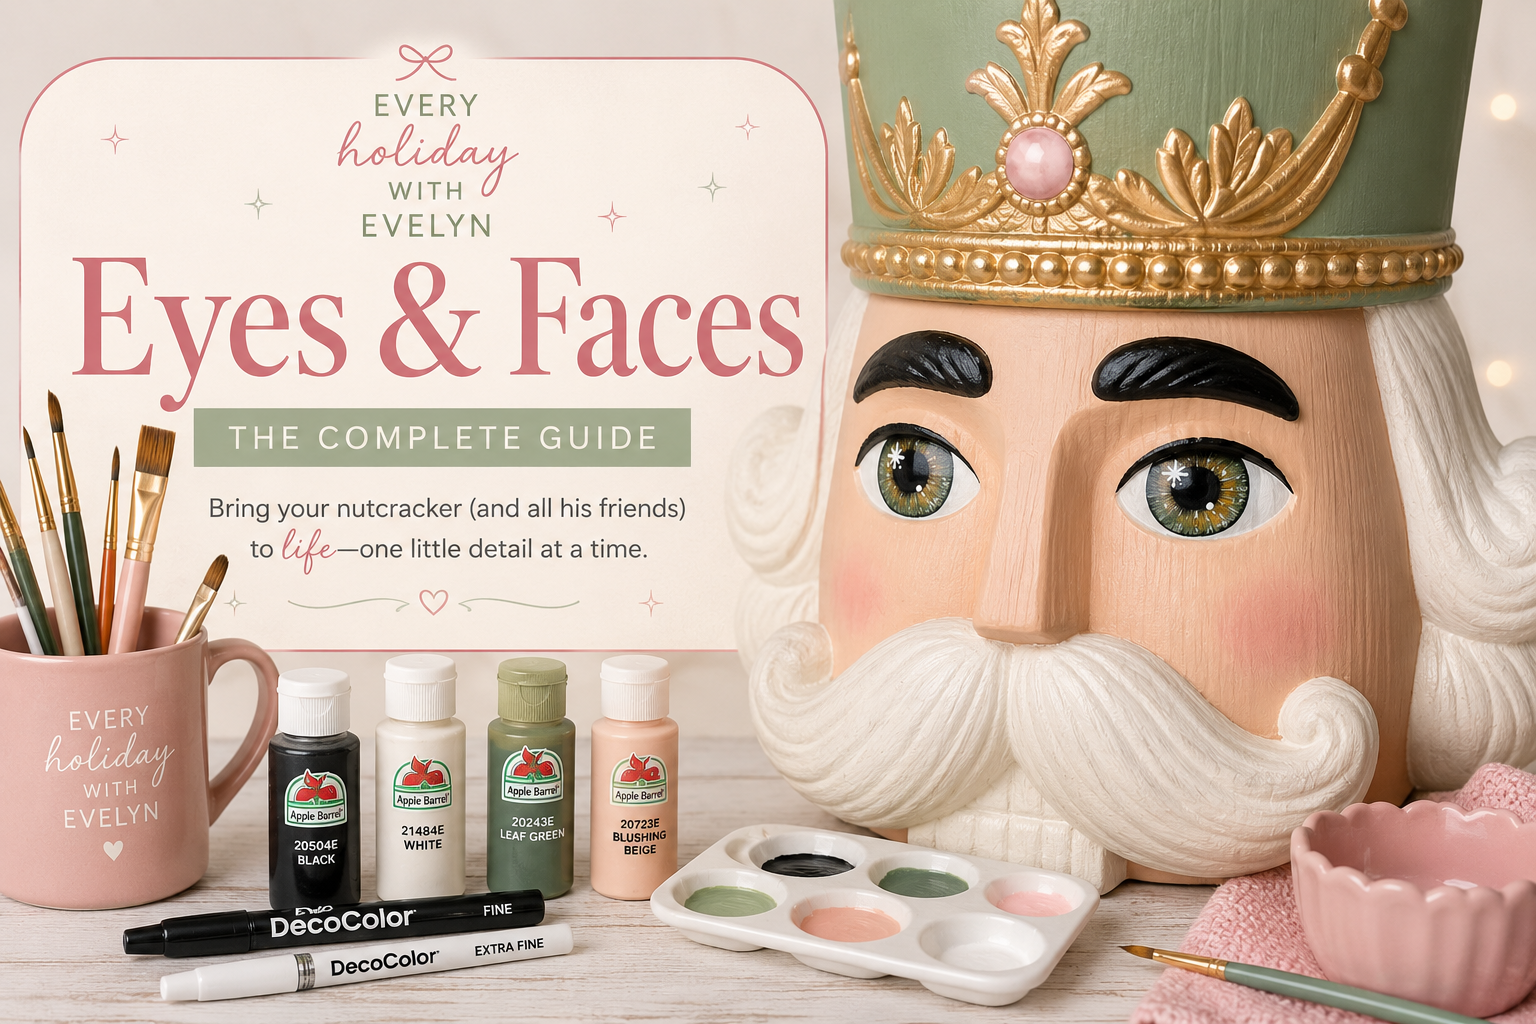
Every Holiday with Evelyn Guide

Painting Eyes & Faces

If painting the eyes makes your palms sweat, welcome to the club. The good news is that most blow molds, nutcrackers and molded holiday figures have already done the hard part for you—the eyes, brows, lips and facial details are sculpted right into the piece. You are not drawing a face from scratch. You are simply helping those molded details show up for work.

Painted nutcracker face with colorful detailed eyes beside paintbrushes and the words Eyes and Faces.
First things first

You probably did not ruin it.

Eyes are usually the part that makes painters stop halfway through and wonder why their cheerful Christmas character suddenly looks like he has seen something deeply concerning. That halfway-stage panic is normal.

Facial details often look strange until the irises, pupils, outlines, catchlights and surrounding features are all in place. Work in thin layers, let each layer dry, and remember that acrylic paint is wonderfully forgiving. A wonky eye is not a tragedy. It is usually one coat of paint away from becoming somebody else's problem.

Evelyn's Tip Paint both eyes at the same time. Do both whites, then both irises, then both pupils and finally both catchlights. Finishing one entire eye before starting the other makes it much harder to keep them looking like they belong to the same face.
Before you paint those peepers

Let the molded details guide you.

On most blow molds and molded holiday decorations, the facial features are already raised, recessed or outlined in the plastic. Your job is usually to follow those shapes—not reinvent them.

👀

Study the molding

Look at the face from several angles and find the raised or recessed edges around the eyes, brows, eyelids, mouth, teeth, beard and mustache. Side lighting can make faint molded lines easier to see.

📷

Save reference photos

Decide whether you want the finished face to feel classic, whimsical, realistic, vintage or extra colorful. A clear reference keeps you from making twelve tiny decisions while wet paint is drying.

✏️

Mark only when needed

If the molded pupil or iris is not obvious, lightly map it with a removable guide or a very faint mark that your paint will cover. Avoid digging into the surface with a hard pencil point.

💡

Use good lighting

Paint the face in bright, even light. Heavy shadows can make one eye appear higher or larger even when it is not—and holiday décor is dramatic enough without your lamp starting rumors.

Prep still matters: Make sure the surface has been cleaned, prepared and primed appropriately before painting. Follow the exact directions on every primer, paint and sealer label, and test unfamiliar combinations on an inconspicuous area first.
The main event

How to paint the eyes

The exact shapes will vary, but this order works well for most molded nutcrackers, blow molds and holiday figures.

1

Paint the eye area

Follow the molded outline using a small detail brush. A soft white, warm white or very pale cream often looks gentler than a harsh bright white, but the right choice depends on the character and style.

Use thin coats rather than trying to force full coverage in one pass. Let the paint dry completely before adding the iris.

2

Add both irises

Follow the molded iris when one is present. If you are creating or enlarging the iris, use a round guide such as a circle stencil, cap or carefully cut mask to help keep the basic shape even.

Check that both irises are similar in size and looking in the same direction before adding more detail.

3

Build color in layers

A flat circle of color works for a simple cartoon style. For more dimension, use a darker outer edge and add a few lighter strokes that radiate inward or outward through the iris.

Keep the strokes subtle. You are adding a hint of texture—not asking each eye to host its own fireworks show.

4

Place the pupils

Add the pupils only after both irises are dry. Compare them from a distance before filling them in completely. Pupils that are slightly misaligned can make the face appear cross-eyed or as though it is monitoring two separate conversations.

5

Define the lids and outlines

Use a fine detail brush or paint pen to follow the molded eyelid and lash lines. Avoid making every outline thicker than the molding unless you intentionally want a bold, graphic look.

An upper eyelid line can overlap a small part of the iris. This often makes the expression look softer and less surprised.

6

Add matching catchlights

Finish with one or two small white highlights in each pupil or iris. Place them in the same relative position in both eyes so the imaginary light source makes sense.

Start tiny. It is much easier to enlarge a dot than to convince a giant white blob to become tiny again.

Evelyn's Tip Take a quick phone photo after the iris and pupil stages. Small differences often jump out in a picture before you notice them while staring directly at the piece. Flipping the photo horizontally can make uneven details even easier to spot.
A quick reality check

Matching matters more than perfect.

Usually helpful

  • Similar iris and pupil sizes
  • Pupils looking in the same direction
  • Matching catchlight placement
  • Thin layers with drying time between them
  • Checking the face from several feet away

Usually causes trouble

  • Trying to perfect one eye before starting the second
  • Adding thick wet layers to fix another wet layer
  • Using the largest paint pen for tiny molded details
  • Making repeated changes while tired or frustrated
  • Assuming every tiny difference is visible from the yard
Beyond the eyes

Painting the rest of the molded face

Most brows, mouths, teeth, beards and mustaches are already molded into the piece. Follow the sculpted details first, then add shading or highlights only if they suit the look you are creating.

Eyebrows

Follow the raised brow shape with a small angled brush or detail brush. Keep the two brows similar in thickness and color. Small changes in the angle can completely change the expression, so avoid drifting far outside the molded line unless that is intentional.

Eyelashes

Use the molded lash marks when they exist. For added lashes, keep them light and tapered. A few controlled strokes usually look cleaner than a heavy row of identical lines.

Lips and mouth

Paint the molded lip or mouth shape in thin coats. If the expression includes an open mouth, allow each surrounding color to dry before painting the next section so the edges stay manageable.

Teeth

Bright white can create a bold, graphic look. A slightly warm white or pale cream can feel softer. Use the sculpted separators as guides, and avoid adding heavy dark lines unless the original molding or chosen style calls for them.

Beards and mustaches

Start with the base color, then bring out molded texture with gentle dry brushing or a slightly lighter highlight. Keep paint layers thin so the sculpted hair detail does not disappear under a tiny acrylic comforter.

Skin around the features

Choose a skin-tone paint that fits your design and covers evenly over the prepared surface. More choices are available in the full supply collection linked below. For blush placement and blending, visit the separate Nutcracker Blush Guide.

Community favorites

Tricks painters in the community use

These are community-shared techniques rather than rules. Different methods work for different painters, surfaces and designs, so test anything new before committing it to the center of a very large face.

Use round objects as guides

Bottle caps, stencil circles and other round items can help map an iris or pupil. Check the size against both eyes before painting.

Make a removable mask

Some painters cut temporary shapes from low-tack paper or similar material to repeat an iris size. Make sure the underlying paint is fully cured and test the material first so it does not lift the finish.

Build iris colors gradually

Layering a darker edge, base color and a few lighter strokes can make an iris feel more dimensional without requiring advanced portrait skills.

Walk away overnight

This might be the most powerful craft supply nobody can sell you. A feature that feels enormous at midnight often looks perfectly fine the next morning.

About specialty finishes: Community members may experiment with resin, dimensional glaze or other glossy coatings over eyes. Those products have their own surface, curing, indoor/outdoor and compatibility requirements. They are not necessary for beautiful eyes, and this guide does not recommend them as a standard step.
Deep breath

Why does he look like he's seen a ghost?

Almost every eye problem can be corrected. Let the area dry before trying to repair it, then work slowly instead of chasing wet paint around the face.

One eye is larger. Let it dry, then use the surrounding eye or skin color to carefully reduce the outer edge. Rebuild the outline after the correction dries.
The pupils point in different directions. Repaint the problem pupil with the iris color, allow it to dry, and place the pupil again while comparing both eyes from several feet away.
The eyes look cross-eyed. Check the position of the pupils first. Moving one pupil slightly outward may correct the expression without repainting the entire eye.
The catchlights do not match. Cover the misplaced highlight with the underlying pupil or iris color, let it dry and add a smaller highlight in the correct position.
The white paint bled. Let everything dry completely. Clean the edge with a small brush and the neighboring color rather than wiping wet paint across a larger area.
The eye looks flat. Add a slightly darker outer iris edge, a few restrained lighter strokes and one small catchlight. Tiny changes can create plenty of dimension.
The outlines are too thick. Use the adjacent color to narrow them. Repaint in several small passes instead of trying to create a perfect edge in one stroke.
I hate the whole thing. Stop. Take a photo. Walk away. Look again in daylight. If you still dislike it after the paint has dried, repaint that section. Dry acrylic paint is much easier to reason with than wet acrylic paint and hurt feelings.
Evelyn's Tip When correcting an area, use the smallest brush that comfortably covers the mistake—but not necessarily the tiniest brush you own. A brush that is too small can create more visible strokes and tempt you to overwork the paint.
Keep it simple

Helpful supplies for eyes and faces

You do not need every marker, brush and dotting tool in the craft aisle. These are practical options for painting molded facial details. Product availability, packaging and specifications can change, so confirm the current listing and follow the exact product label before use.

White paint pen

Helpful for catchlights, tiny highlights and small white facial details. Prime the pen away from the project and test the paint flow before touching the face.

Shop White Paint Pen

Black paint pen

Useful for pupils, outlines and small corrections when a pen offers better control than a brush. Check that the paint is compatible with the prepared surface and planned topcoat.

Shop Black Paint Pen

Acrylic paint markers

An optional choice for painters who want a larger variety of colors for irises and small accents. You do not need a full set to paint a good face.

Shop Paint Markers

Detail brush set

Small round and detail brushes help with irises, pupils, eyelids, lips, teeth and molded lines. Choose a brush that still has enough body to carry paint smoothly.

Shop Detail Brushes

Angled brushes

Angled brushes can make it easier to follow eyebrows, eyelids, lips and other raised molded edges while keeping your hand in a comfortable position.

Shop Angled Brushes

Skin tones and more supplies

Browse the full Blow Mold Painting Supplies collection for individual skin-tone colors, skin-tone sets and other painting supplies that may fit your particular project.

Browse the Supply Collection
Indoor versus outdoor: A paint, pen or craft product being described as multi-surface does not automatically mean the finished project is suitable for long-term outdoor exposure. Check every product label for surface, curing and indoor/outdoor directions. For outdoor displays, use an appropriate compatible exterior-rated finishing system and test the full primer-paint-sealer combination first.

This section contains affiliate links. If you purchase through one of these links, Every Holiday with Evelyn may earn a commission at no additional cost to you.

Frequently asked questions

Eyes & faces FAQ

Should I use a brush or a paint pen?

Use whichever gives you better control. Brushes are especially useful for filling molded shapes and blending colors. Paint pens can be helpful for pupils, outlines, catchlights and small accents. Test the pen first, and make sure its paint is compatible with your base paint and planned sealer.

Do the eye whites need to be pure white?

No. Bright white works well for bold or cartoon-style designs, while a warm white, ivory or pale cream can create a softer look. Choose the shade that fits the character rather than following one universal rule.

How do I make both eyes the same size?

Follow the molded shapes first. When creating new circles, compare matching guides, measure from nearby molded landmarks and work on both eyes at the same stage. Check the face in a photo before adding the pupils and outlines.

Can I use bottle caps or stencils for the irises?

Yes, as a positioning or tracing aid. Confirm that the guide fits both eyes, and avoid pressing or attaching anything that could scratch the surface or lift uncured paint. Test low-tack masking materials first.

How long should I wait between eye details?

Follow the drying and recoating instructions on your exact paint or marker label. Dry-to-touch does not always mean ready for another product or a topcoat. Temperature, humidity, coat thickness and surface preparation can all affect timing.

Can I repaint just one eye?

Yes. Allow the existing work to dry, cover the incorrect portion with the appropriate base color, and rebuild the details in thin layers. Feather the correction carefully so it blends into the surrounding paint.

Should I seal over the painted face?

That depends on the paint system, surface and where the decoration will be displayed. Use only a compatible sealer appropriate for the intended environment. Follow all label directions, respect curing times and test the complete combination first because some sealers can react with paints or markers.

Will paint pens hold up outdoors?

Do not assume that every paint pen is suitable for permanent outdoor exposure. Read the exact label and listing for the pen, then consider the primer, base paint, topcoat, UV exposure, moisture and storage conditions as one complete system. Testing is always the safest plan.

Need a second set of eyes?

Bring your face to the community.

Still deciding whether the pupils are crooked—or whether you have simply stared at them for three hours? Share your project with the Every Holiday with Evelyn community, or visit the FAQ library for more painting help.