
Clean Lines & Trim
You do not need a perfectly steady hand to get clean trim. The real trick is choosing the right tool for the shape you are painting, working in short sections and letting mistakes dry before you fix them.
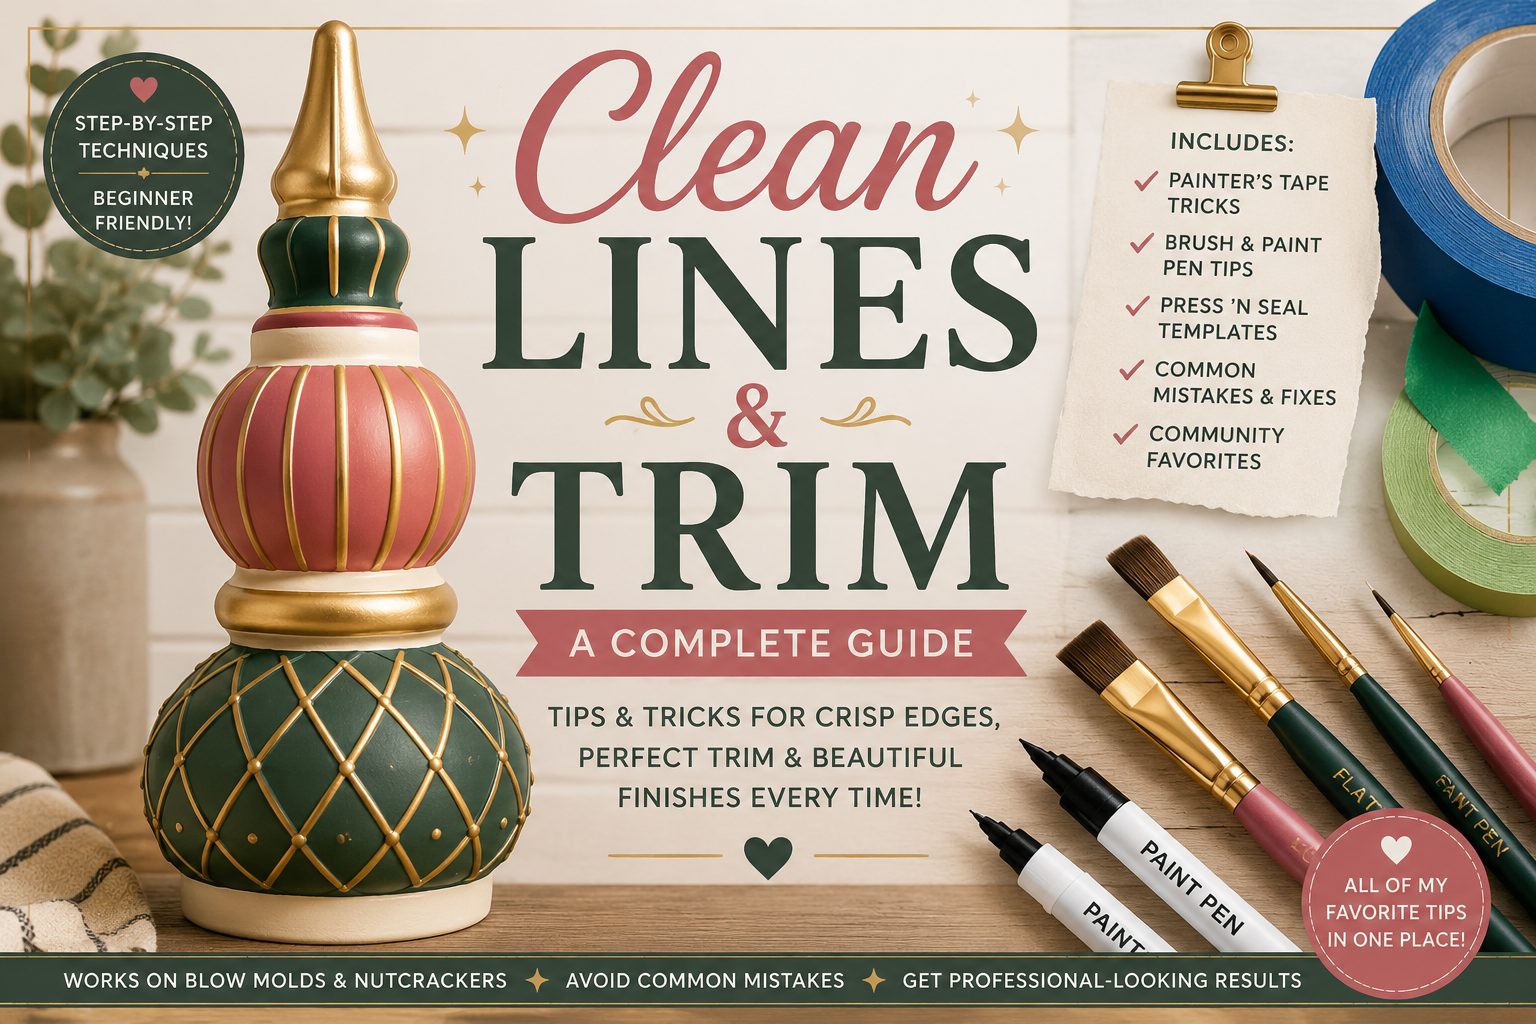
Choose the tool that fits the line.
Painter’s tape is not automatically the best way to get a clean edge. On most blow molds, the molded details already give you a line to follow. The shape of that line should decide which tool you use.
Use a brush for:
- Raised or recessed molded trim
- Curves, cuffs, collars and boots
- Textured plastic
- Small areas and irregular shapes
Use painter’s tape for:
- Long, straight stripes
- Flat or gently curved areas
- Large sections of color blocking
- Edges without much texture
How to paint a clean line with a brush
A small angled or flat brush is usually the easiest way to paint molded trim. Small round and pointed brushes give you more control for tiny details, while the sharp edge of a flat or angled brush works well for wider lines.
Use the smallest brush that comfortably covers the trim
A tiny liner brush is not always better. Use a small flat or angled brush for wider trim, a pointed round for small details and a liner brush for very thin lines.
Load the brush, then remove the excess
Coat the bristles, then lightly wipe one side on your palette. You want enough paint to glide, but not a blob sitting on the tip.
Use the molded edge as your guide
Place the side or sharp edge of the brush against the raised line. Let the plastic guide the brush instead of trying to hover above it.
Pull the brush toward yourself
Rest your painting hand on the blow mold when possible, then rotate the piece so you can pull each stroke in a comfortable direction.
Work a few inches at a time
Do not attempt one long, perfect stroke. Paint a short section, reload and continue while keeping the width consistent.
Build coverage with thin coats
Heavy paint creates ridges and makes the line harder to control. Let the first coat dry before adding another.
How to get a crisp line with painter’s tape
Tape works best when the surface underneath is smooth, clean and fully cured. It is less reliable on texture, raised details and tight curves.
Let the base paint cure
Dry to the touch is not the same as cured. Follow the paint label before applying tape, especially over slick plastic.
Test the tape somewhere hidden
Press a small piece onto the back or bottom first. Different paints, primers and sealers can react differently to the same tape.
Use short pieces around curves
Overlap several short sections instead of fighting one long strip. Press down only the edge you need to seal.
Burnish the edge
Firmly smooth the paint-side edge with a fingertip, craft stick or old gift card so paint has fewer gaps to creep beneath.
Seal it with the base color
Brush a very thin coat of the existing base color along the tape edge. Any seepage will match the background. Let it dry, then add the new color.
Paint away from the tape edge
Use light coats and avoid pushing a heavily loaded brush directly toward the tape.
Remove the tape carefully
Pull it slowly back over itself at a low angle. If dried paint has bridged across the tape, lightly score the edge first with a craft knife.
When paint pens are easier than a brush
Paint pens are useful for narrow outlines, buttons, facial details and tiny areas where a brush feels too bulky. Fillable pens are especially helpful when you need the exact same custom paint color used elsewhere.
Prime on scrap first
Shake the pen, press the tip on scrap material and wait for an even flow before touching the project.
Use light pressure
Pressing too hard can flood the tip and suddenly make the line much wider.
Keep the tip moving
Pausing in one spot can leave a puddle or dark dot at the end of the line.
Let layers dry
Allow one line to dry before tracing over it or adding another color.
Metallic trim needs a little patience.
Metallic paint can look streakier than regular acrylic because the shiny particles make every gap and brush mark easier to see.
Use a coordinating base coat
Gold usually covers more evenly over tan, mustard or brown. Silver often looks better over gray. A coordinating base reduces patchiness.
Keep every stroke going the same way
Changing direction can make the metallic sheen look uneven once it dries.
Use several thin coats
Do not keep brushing to force full coverage from the first coat.
Test your sealer
Clear coats can dull, deepen or otherwise change a metallic finish. Test the full paint-and-sealer combination first.
How to fix lines without making them worse
Unless paint is actively dripping, resist the urge to wipe a mistake while it is wet. Wiping usually smears the paint and turns one small problem into a much larger one.
Helpful tools for clean trim
Small angled brush
Best all-around choice for curves, corners and wider molded trim.
Small flat brush
Useful when you want a consistent-width stripe or a sharp painted edge.
Pointed round or liner brush
Best for tiny details, narrow lines and touch-ups.
Low-adhesion painter’s tape
Helpful for straight lines after the base coat is fully cured.
Paint pens or fillable pens
Useful for tiny trim, outlines and exact-color details.
Craft stick or old gift card
Use it to firmly smooth the paint-side edge of painter’s tape.
Browse the supply collection
Find detail brushes, painter’s tape, paint pens and other tools used for blow mold painting.
Shop Blow Mold Painting SuppliesThis section contains an affiliate link. Every Holiday with Evelyn may earn a commission from qualifying purchases at no additional cost to you.
Clean lines and trim FAQ
What brush is best for painting trim?
A small angled brush is the most versatile for blow molds. Use a small flat brush for wider lines and a pointed round or liner brush for very thin details.
Why does my line get wider as I paint?
You may be using too much paint, pressing too hard or repeatedly repainting both edges. Let the line dry and narrow only the uneven edge with the surrounding color.
How long should paint dry before taping?
Follow the full cure time listed on the exact paint you used. A coat can feel dry while still being soft enough for tape to lift it.
How do I stop paint from bleeding under tape?
Smooth the tape edge firmly, seal it with a thin coat of the existing base color and let that coat dry before adding the new color.
Should I remove painter’s tape while paint is wet?
Remove it after your final coat has set enough that it will not run, but before a thick paint film fully bridges the tape edge. Pull slowly at a low angle and score the edge first if needed.
Can I use tape on textured blow molds?
You can try, but tape may not seal every dip in the texture. A small angled brush is often faster and cleaner.
Can I fix a crooked line while it is wet?
Usually, no. Unless the paint is dripping, let it dry and correct it with the surrounding color. Wiping wet paint tends to smear it.
Your lines do not have to be perfect.
Paint the best line you can, let it dry and clean up the edges afterward. That final correction pass is what makes the trim look crisp and finished.